Prerequisites
Plunk is built on top of AWS SES. You will need an active AWS account with SES enabled to self-host it.Limitations
- Plunk is designed to run in a single AWS region. If you need to run Plunk in multiple regions, you will need to deploy multiple instances.
Self-hosting
1. Configuring AWS
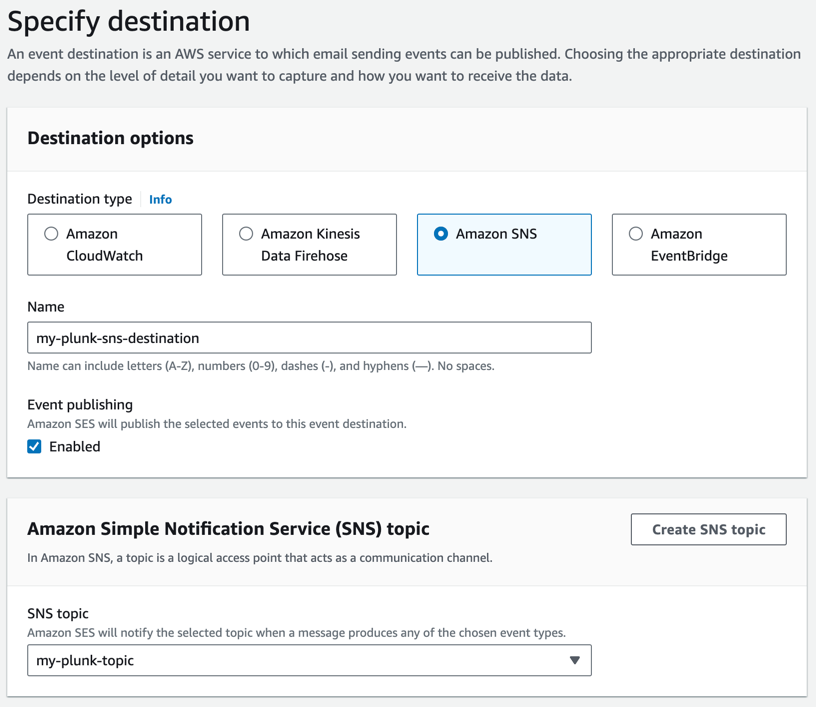
To provide the feedback loop (delivery, bounce, and complaint notifications) an SNS topic and configuration set are required.1.1 SNS Topic
Head over to the SNS console and create a new Standard topic.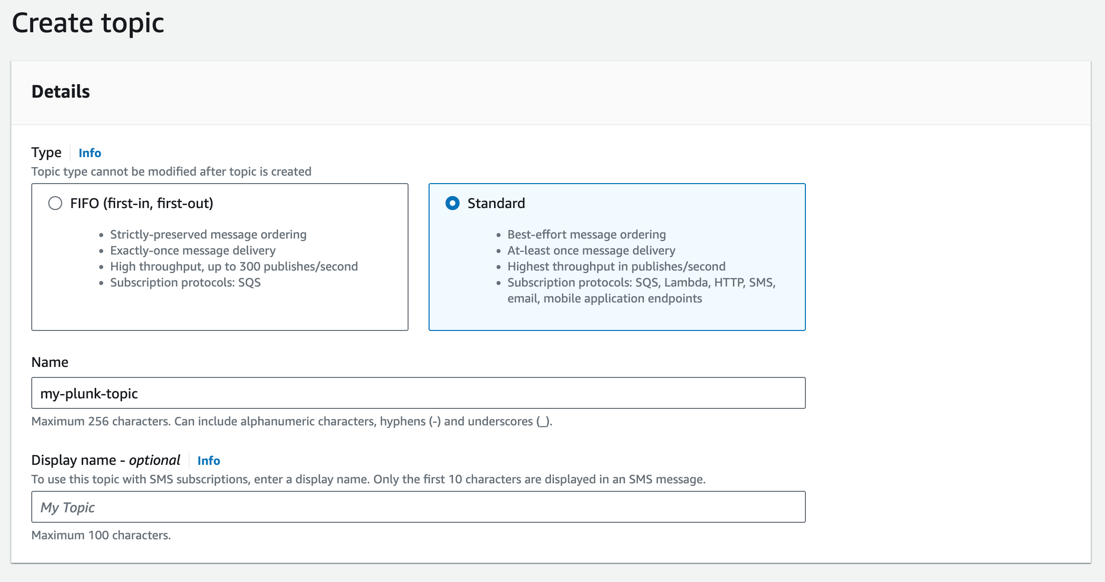
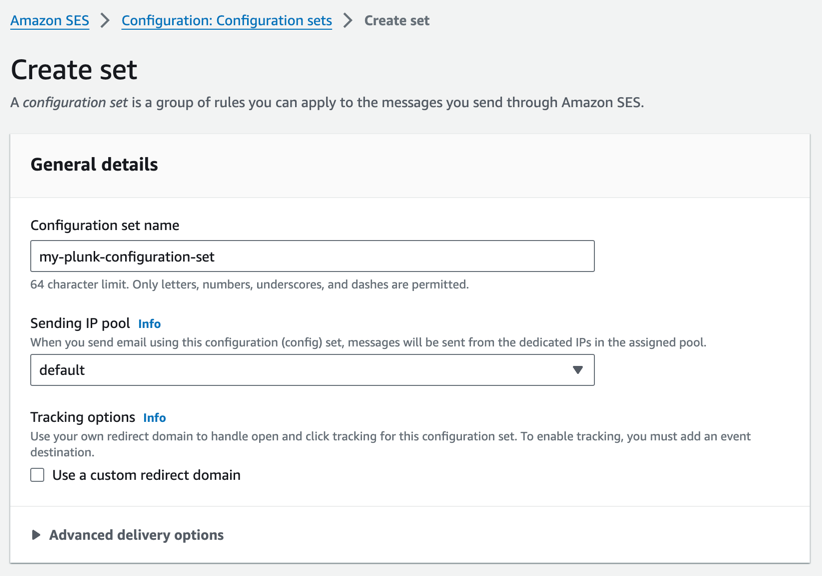
1.2 Configuration Set
Head over to the SES console and create a new configuration set. The name of this configuration set will be used as the value for theAWS_SES_CONFIGURATION_SET environment variable.
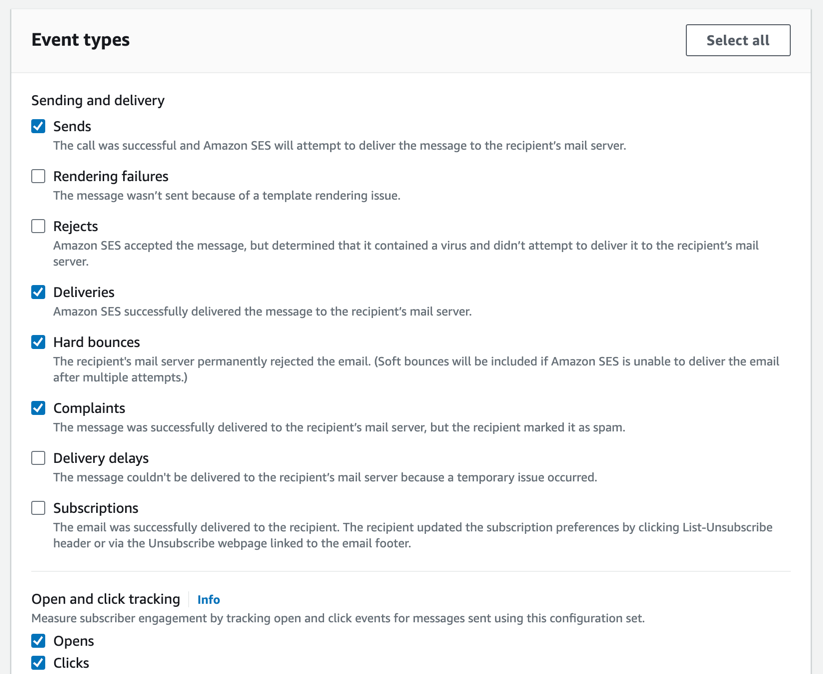
- Sends
- Deliveries
- Hard bounces
- Complaints
- Opens
- Clicks
1.3 AWS Credentials
Plunk requires anACCESS_KEY_ID and SECRET_ACCESS_KEY to interact with the AWS API. These credentials should be added to the environment variables.
We recommend creating a new security policy with the following permissions
2. Docker Compose
Plunk is available as a Docker image on Docker Hub. Since Plunk relies on a PostgreSQL database and Redis cache, the easiest way to get started is to use the following Docker Compose setup. These environment variables were created in the previous step:AWS_REGION: The region where your AWS account and services are locatedAWS_ACCESS_KEY_ID: The AWS access key IDAWS_SECRET_ACCESS_KEY: The AWS secret access keyAWS_SES_CONFIGURATION_SET: The name of the SES configuration set
JWT_SECRET: A secret key used to sign JWT tokensAPP_URI: The domain where you will be hosting PlunkAPI_URI: The domain where you will be hosting the API, this is should be yourAPP_URIwith/apiappended to it
DISABLE_SIGNUPS: Deactivates the account creation process. Default is False.
3. Running Plunk
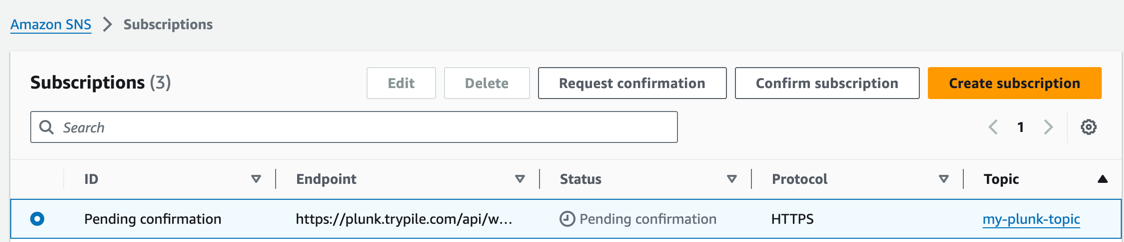
3.1 Creating a subscription to SNS
Before an SNS topic can be used, a subscription must be created an confirmed. Head to the SNS console and find the SNS topic you created. Plunk requires an HTTPS subscription to the topic on the/api/webhooks/incoming/sns endpoint.
Replace
https://plunk.example.com with the domain where you are hosting Plunk.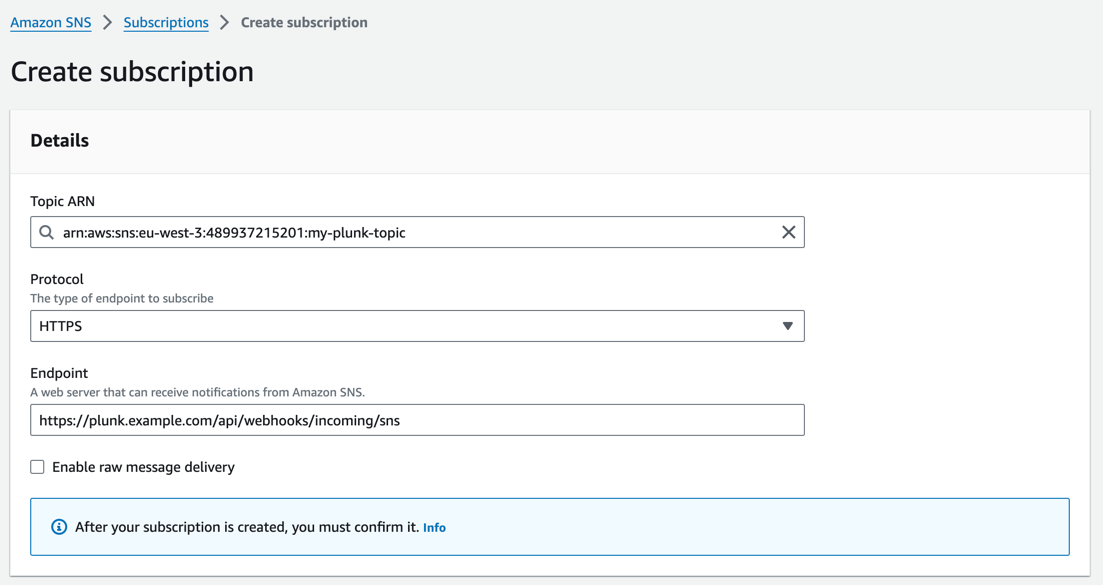
3.2 Confirming the subscription
Head to the SNS console and select the subscription created in step 3.1. Select the subscription and click onRequest confirmation.
AWS will send a mock HTTP POST request to the endpoint. Plunk cannot automatically confirm the subscription, you will need to manually confirm it.