Tracking events
Events are the actions that your users take on your website or app. You track events by calling the Plunk API. An example of an event isnew-project, which you might want to track when a user creates a new project. You would send it to Plunk like this:
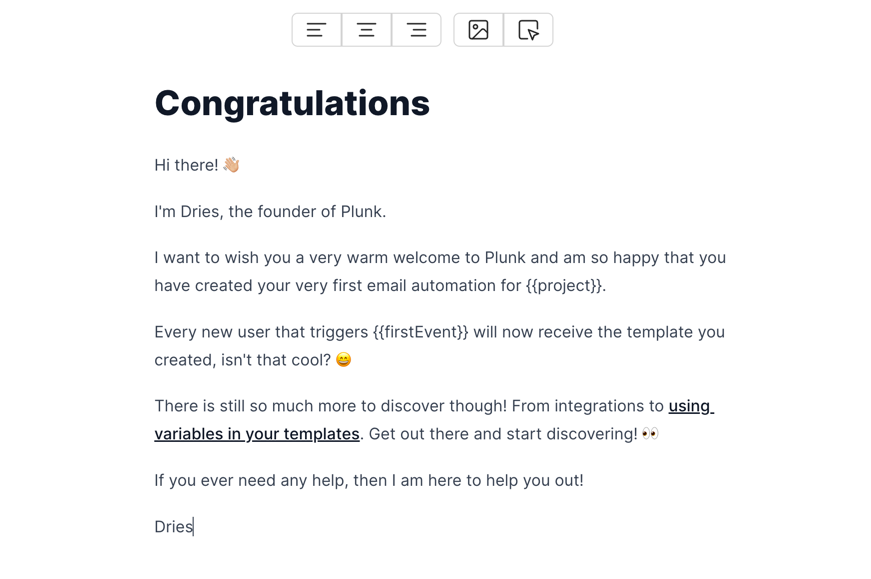
Creating a template
Templates are the blueprints for your emails. They allow you to create a design that you can edit and reuse. Plunk’s template editor makes it easy to create beautiful emails that look great on all devices.
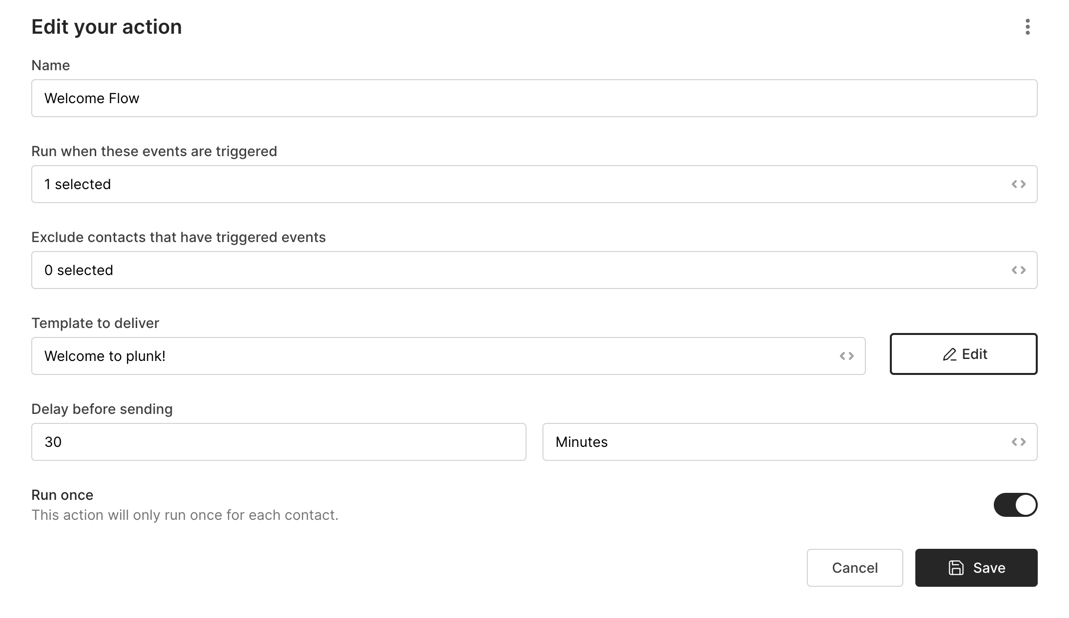
Setting up an action
Once you have an event and action on hand, you can bring them together in an action. Actions allow you to configure what events trigger which emails. You can also set up delays and conditions to make sure that your emails are sent at the right time.